简单的例子
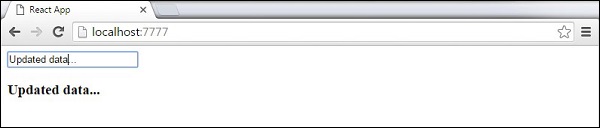
在以下示例中,我们将使用设置输入表单value = {this.state.data}。只要输入值发生变化,就可以更新状态。我们正在使用onChange事件,它将监视输入更改并相应地更新状态。
App.jsx
import React from 'react';

class App extends React.Component {
   constructor(props) {
      super(props);

      this.state = {
         data: 'Initial data...'
      }
      this.updateState = this.updateState.bind(this);
   };
   updateState(e) {
      this.setState({data: e.target.value});
   }
   render() {
      return (
         <div>
            <input type = "text" value = {this.state.data}
               onChange = {this.updateState} />
            <h4>{this.state.data}</h4>
         </div>
      );
   }
}
export default App;
main.js
import React from 'react';
import ReactDOM from 'react-dom';
import App from './App.jsx';

ReactDOM.render(<App/>, document.getElementById('app'));
当输入文本值更改时,状态将被更新。
复杂的例子
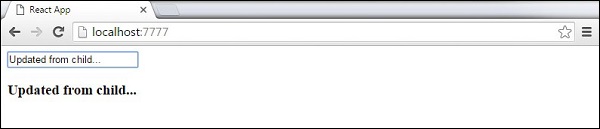
在下面的示例中,我们将看到如何使用子组件中的表单。onChange方法将触发状态更新,该状态更新将传递到子输入value并呈现在屏幕上。事件一章中使用了类似的示例。每当我们需要从子组件更新状态时,我们都需要将处理update(updateState)的函数作为prop(updateStateProp)传递。
App.jsx
import React from 'react';

class App extends React.Component {
   constructor(props) {
      super(props);

      this.state = {
         data: 'Initial data...'
      }
      this.updateState = this.updateState.bind(this);
   };
   updateState(e) {
      this.setState({data: e.target.value});
   }
   render() {
      return (
         <div>
            <Content myDataProp = {this.state.data}
               updateStateProp = {this.updateState}></Content>
         </div>
      );
   }
}
class Content extends React.Component {
   render() {
      return (
         <div>
            <input type = "text" value = {this.props.myDataProp}
               onChange = {this.props.updateStateProp} />
            <h3>{this.props.myDataProp}</h3>
         </div>
      );
   }
}
export default App;
main.js
import React from 'react';
import ReactDOM from 'react-dom';
import App from './App.jsx';

ReactDOM.render(<App/>, document.getElementById('app'));
这将产生以下结果。